Editing with the iPhone CODEC On occasion, Adobe Premiere can act finicky when editing iPhone footage due to the iPhone’s h.265 codec. The steps below should allow you to troubleshoot and correct any potential issues you might face.
Update All Versions
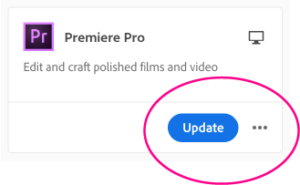
As a general rule, you should always make sure that you are using the latest version of Adobe Premiere Pro and Media Encoder. It never hurts to make sure your Mac OS is completely updated as well.
Use Media Browser
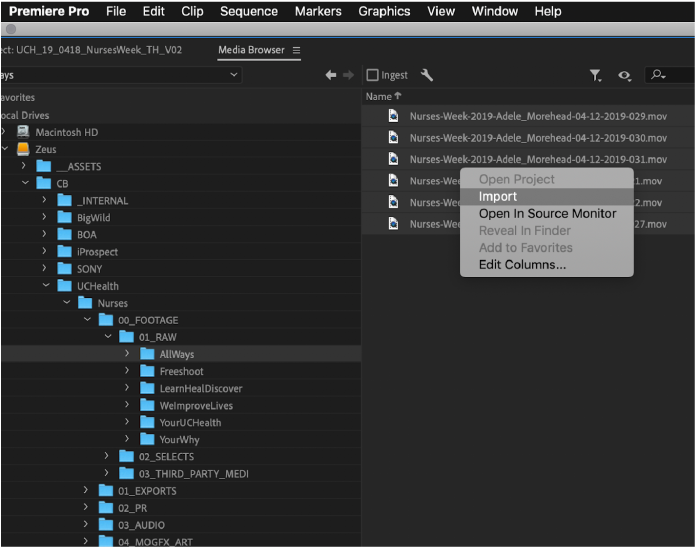
Be sure to use Media Browser to import your Cinebody footage to Premiere. Navigate to the specific file of a selection of clips, right-click, then import. The files will be imported to whichever bin you have selected in the Project Panel. Using Media Browser should solve the issue. If not, see the next step.
Delete Render Files
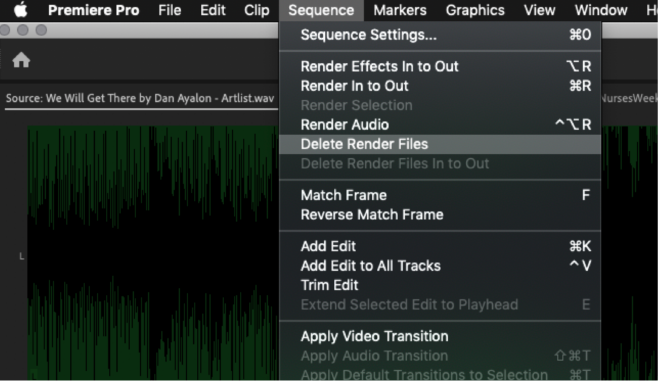
If you have sequence issues, the first possible fix is to delete render files, and then re-render the timeline.
Delete Bad Clips
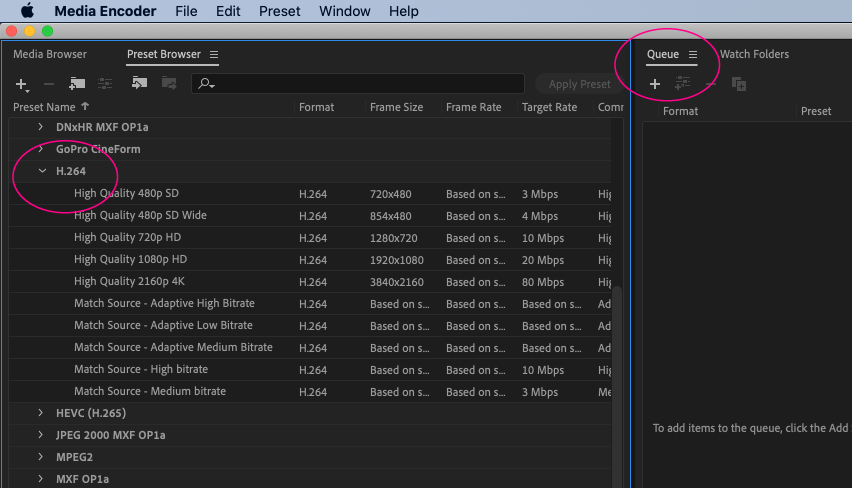
If the issue persists, try deleting the problematic clips from your sequence. then pulling them back into the sequence from your bins. If that doesn’t work, try deleting the clip from the project, and re-importing it with Media Browser. You can also try using Media Encoder to re-encode the problematic clips. If you do this, make sure to use default h.264 settings. Please note: using a standard preset for exporting your edit usually isn’t the issue, but you can still try using Media Encoder. Set up a normal export, but click “Queue” instead of export. Media Encoder will then open; click the green play button in the top right to start.
Delete The Cache
If all of the previous steps fail, try deleting your cache. This MUST be done manually
• Close premiere and any other Adobe programs that may be running.
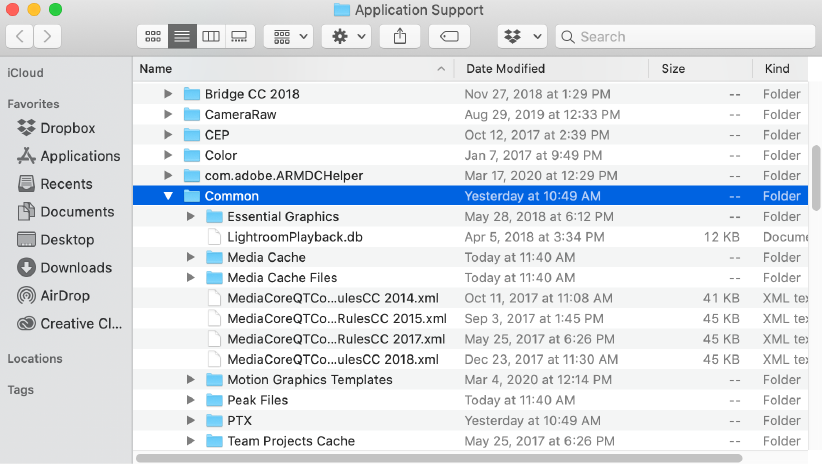
• In the finder, click on Go > Go to Folder and type in ~/Library.
• Navigate to Library > Application Support > Adobe > Common.
• Delete all files inside these folders: {Media Cache} {Media Cache Files} {Peak Files} and {PTX}.
• After deleting the cache files, empty your trash, reopen Premiere, and allow the new cache files to generate.
Delete Windows Media Cache
If deleting your cache didn’t work, you can try to clear your Windows Media cache by following these manual steps:
• Close Adobe Premiere.
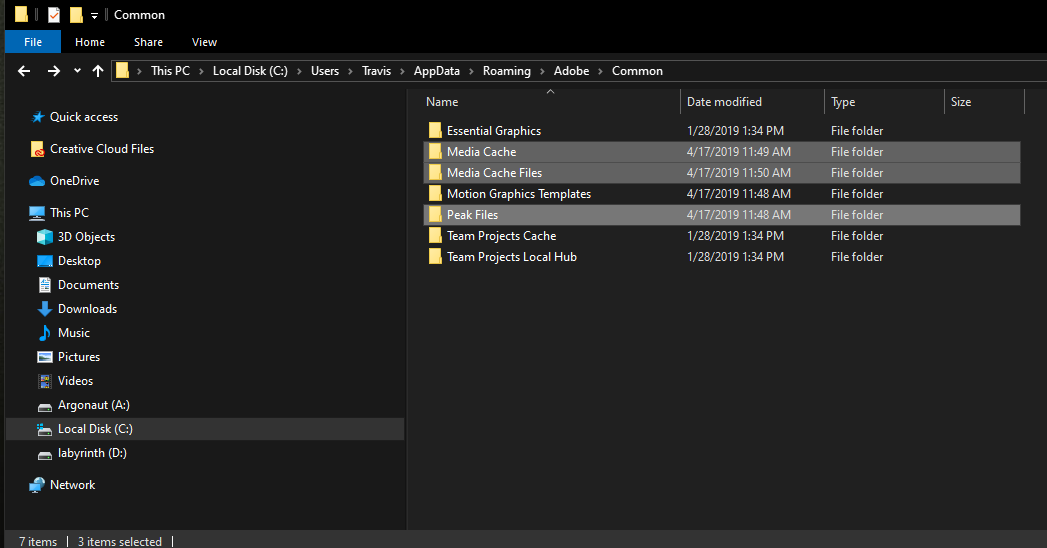
• Then, navigate to \Users\\AppData\Roaming\Adobe\Common.
• The AppData is hidden by default. To view it, click on the view tab and enable hidden items.
• Delete all of the files in the folders {Media Cache} and {Media Cache Files}.
• Then, empty your trash and reopen Premiere. Allow the new cache files to load.
Uninstall Premiere Pro
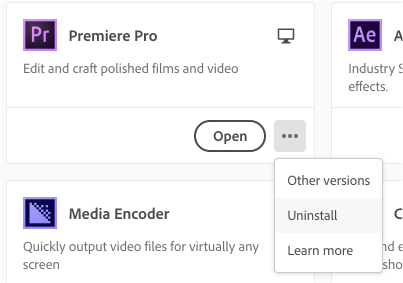
The final option, if none of the previous work, is to uninstall Premiere from your computer and then reinstall it.
If you follow these steps and still run into issues, please contact us at support@cinebody.com